Showing posts with label DIY. Show all posts

Saturday, October 5, 2013

DIY Desktop Accessories Box

In the ongoing effort to bring some pops of color into our office space, I've revamped my desk lamp with paint and a new shade, spruced up our bookshelves with paper, and majorly reorganized, all in the past month. Now what?

Confession: I'm a hoarder.

Yeah, I hoard ribbon that I get on gifts and old things like pencil sharpeners and glue sticks and stolen hotel stationery and weird Commes des Garcons wallets that I don't know what to do with. Yes, I pile all that stuff into old shoe boxes. Yes, I forget about that stuff once it's in the box but WHAT DO I DO IN THE MEANTIME, HUH?

I make the box look damn pretty.

First: Get an old box and some wrapping paper.
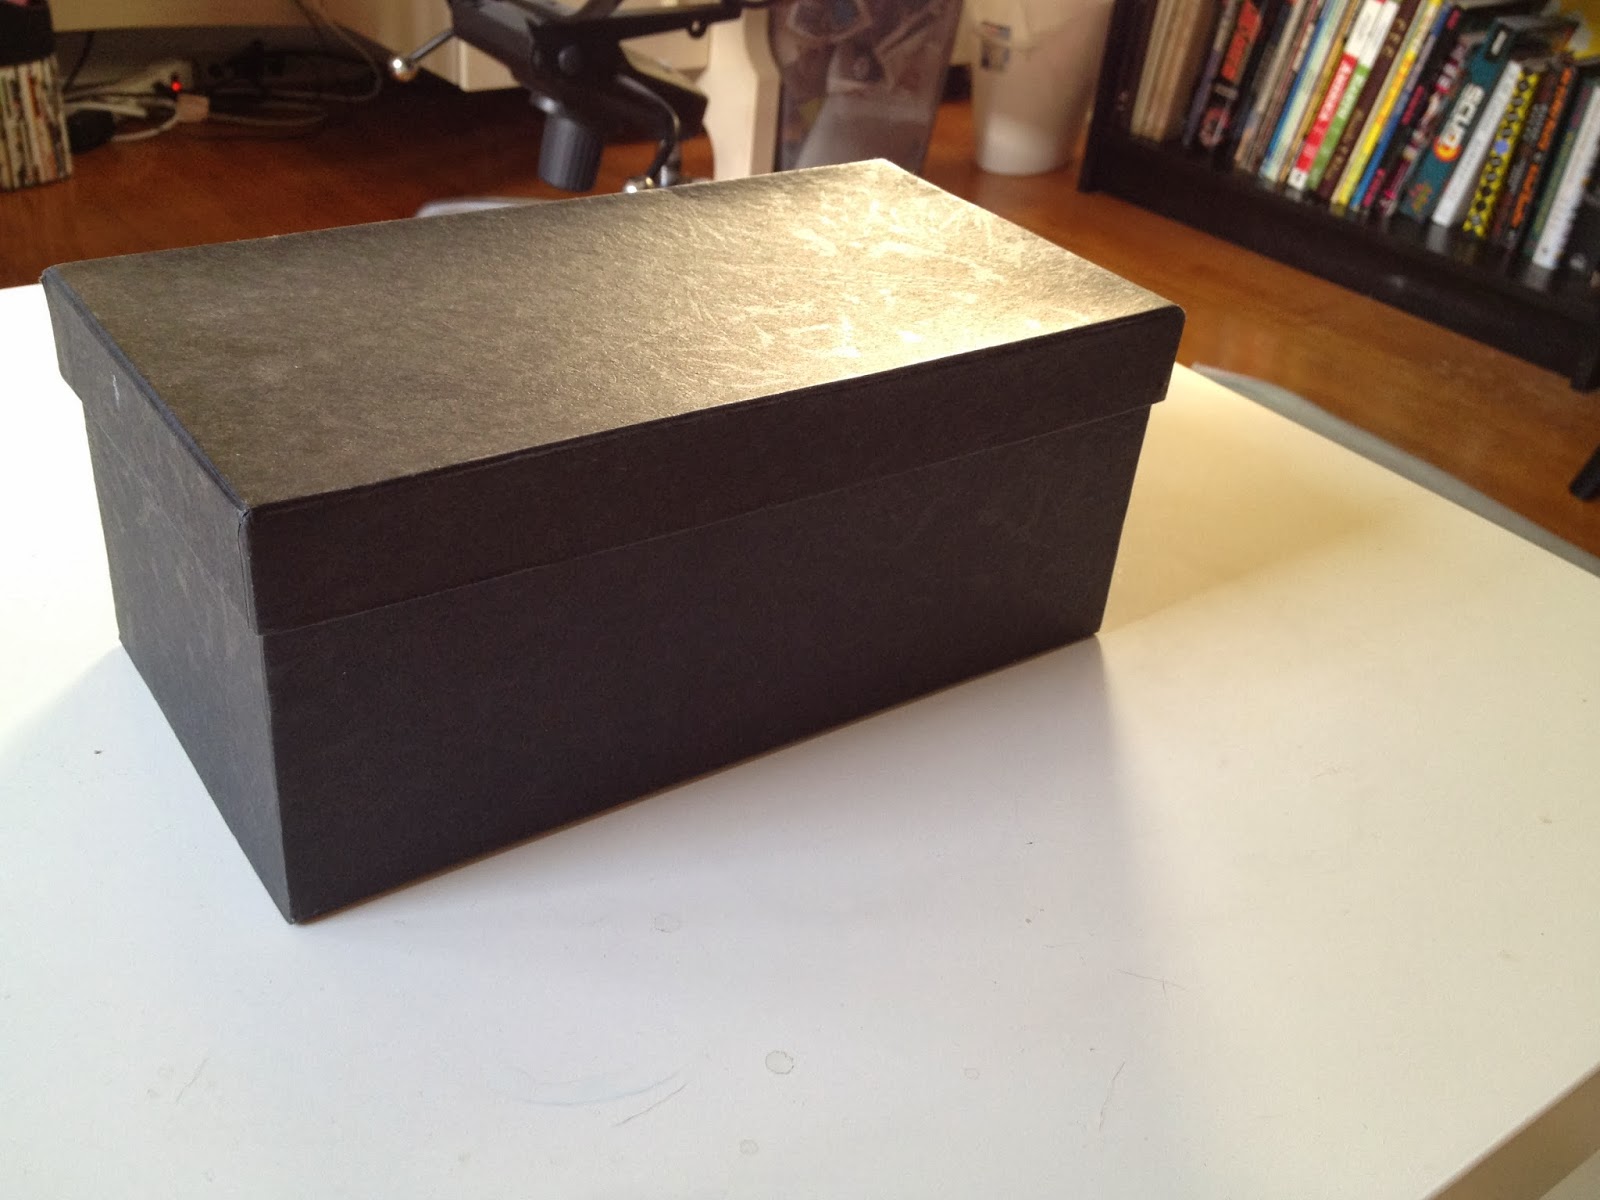

Look at this cute patterned wrapping paper I found on clearance at Target for $2.99! Since this project was my first guinea pig, I decided to use some cheapo stuff just in case.


Using a blade, I cut out the appropriate amount of paper that would cover all parts of the box...


...and traced the box onto the paper.


Then I sprayed with some spray adhesive and lightly smoothed up the sides, being careful not to make bubbles or wrinkles.


Using my trusty scissors, I made a careful cut along the edge and folded the paper into the inner rim of the box...


...then I repeated this to all four sides of the box, making "wings" in the corner.

Don't judge my wrinkles.
Nothing a little scissor can't help. I hacked off the wings, and smoothed down the corners of the tacky paper:
Add caption
Did the same for the lid under the watchful stares of my captive audience:


 ...and voila! Box, interrupted:


Proceeded to fill with hoarded junk:


...and piled said junk on top of more junk.


Total cost: $2.99! Plus, I ended up with a pretty accessories box for my desk, a roll of wrapping paper, and more reasons to hoard.


Monday, August 26, 2013

Apartment Therapy Style Cure: Painting a Lamp


As part of the Apartment Therapy Style Cure, I'm trying to make our office a little bit brighter and more colorful. One thing I've been meaning to do forever is to make over this lamp that I have been hating ever since I bought it. It was originally in our bedroom, until I got these cute matching lamps. Then it got relocated to the office as my desk lamp and it's been sitting in lamp limbo (lampbo?) ever since. Here's the best photo I have of it:


It's fine, but it doesn't match anything. The shade is too busy, but I like the lines of the black base. First, I repurposed that lampshade for now onto this floor lamp (that's also on its way out the door)...

This'll have to go soon....
Since I've been trying to get more pops of color in the office space, I decided to bring out my trusty ol' spray paint and brighten up that lamp base. First, a coat of primer after using painters tape & plastic to cover up the electrical parts...


Then two coats of spray yellow gloss enamel...


...swapped the lampshade with the floor lamp and voila! Bright pop of color to match our newly lined bookcases. I'm looking for a pure white (rather than off white) drum shade to go with it, but for now, this'll do.


I like lamp.

Sunday, June 30, 2013

Weekend DIY: Updated Terracotta Planter

This is where a little boredom and a lot of spray paint will get you.

Problem: A boring ol' terracotta pot, the kind you get from Home Depot for like $7.


I'm tired of seeing my plants in these pots, so I decided to play around and give it an update based on my last experiment with leftover bottles.

Given a free afternoon and some leftover spray paint, here's what I did. First, a coat of white spray paint. Then some painter's tape and some sides to an old audition to create some diagnoal stripes:


And a few swipes with my beloved gold Rust-o-leum spray paint...


Peel off the tape and voila! A brighter, more modern pot!


Planted this baby into his new home...


And gave him a good drink to help him settle in.


Aaaah. That's the stuff.

Wednesday, April 10, 2013

DIY Repurposed Bottle Vase

Sometimes I just have too much time on my hands. Last weekend I was spray painting some frames, so I thought I'd play with an empty Calvados liquor bottle I had lying around from an Apple party (Apple TV +Apple liquor + Apples to Apples = NONTSTOP FUN) a few weeks back.

The original bottle looked something like this:


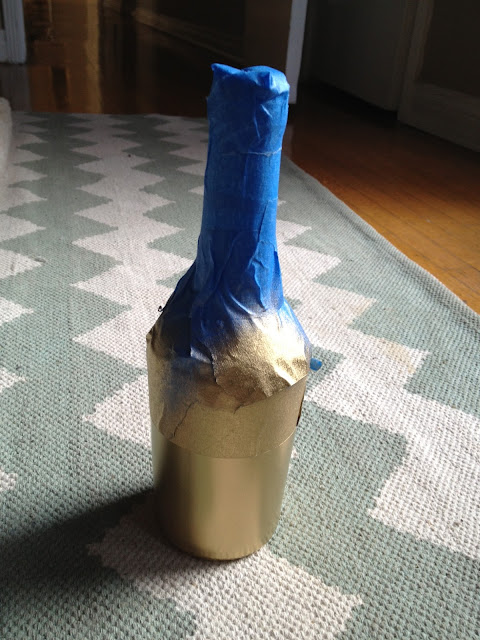
I washed out the bottle and removed the label, then spray painted it all white. After it dried, I covered half with painters tape, and sprayed the bottom half gold:


Let that dry, then removed the tape. Ta da!


A single flower vase repurposed from an old liquor bottle!


My inspiration was this Nate Berkus for Target bowl:


Less gloss, but free and a fun random project. And now I have a skinny vase, to match my cocaine and speed salt and pepper shakers.


Thursday, February 21, 2013

Goldmember Part 2: DIY Gilded Magazine Rack

Off the tails of yesterday's post about how I'm basically Austin Powers' Goldmember, here's another Midas touch transformation I did of a cheap shabby-chic chickenwire magazine rack that I found at Home Goods.

Here's the original:


Very industrial Returns to Oz steampunk, no? Cool but not my style. Laid it out in the garden...


Did a quick spray primer with my favorite, Rustoleum, to make the paint stick.


Two coats of Rustoleum's shiny gooooold:


Oops, missed a spot!


Ta da! Left it outside for 48 hours to dry...


And found a temporary spot next to the new office couch just in order to stop the cats from scratching. The office is in mid-renovation after my last shame-sesh. Updates soon, I promise!


Who dares to disturb my slumber?


I plan on actually nailing this to the wall and maybe making it into a little in/out box over my desk, or a hers/his, once the office is finished remodeling. Because gold makes even going through the mail a fancy affair!

Wednesday, February 20, 2013

DIY Gilded Plant Stand

Why are plant stands so damn expensive?

A regular run-of-the-mill one from Home Depot will run you up to $100, about the same price as a cool mid-century one off of Etsy. It's a damn holder for plants, people. It doesn't do anything, except sit there.

Rather than shell out a hundred buckaroos for an inanimate object that I don't even like the aesthetics of, I decided to upgrade a cheapo one from Amazon. Like our old friend  Pepe Le Pew says, there ain't nothin' that some good ol' spray paint can't solve.

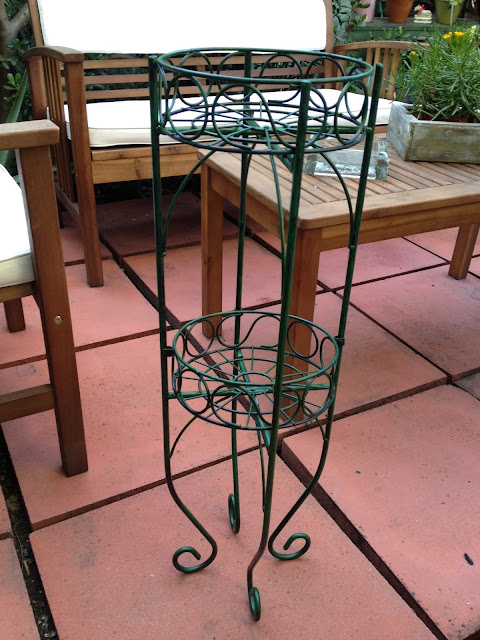
The original, made of wire-metal painted green, for $20:


I decided on gold to go along with that whole gilded Hollywood Regency thang that I've been into ever since I moved to LA and Craigslisted that amazing mid-century regency glass table (shown here at my old apartment).

First, a nice coat of Rust-Oleum primer, just to make it stick. Probably didn't need it, but just in case.


A quick two coats made this baby look shabby chic...


Or maybe just shabby. Next, the Midas Touch! Ooooh yeahhhh....


I got super excited when this spray paint can arrived in my mail. Did you know at most art and hardware stores you have to get someone to retrieve spray paint out of locked cabinets, I guess to deter graffiti? Seems dumb when you can just buy it online. Pretty much I want to paint everything gold now. All our planters? Gold. Our television? Gold. Two kitties? Gold! Speaking of kitties, someone was very disappointed he was not allowed outside while I was painting.

How come I'm never allowed to go outside and breathe paint fumes!
Next, two coats of gold spray paint in light strokes. This proved a little difficult because the plant stand was so thin and wiry and so much of the paint just went into the air. But I managed it without too much dripping.


24 hours outside to dry...


...and ta da! A gilded regency-style plant stand!


Now our dining nook is a full-on tropical jungle. Monkeys welcome.


Ruh roh. I've got the Midas OCD Touch. What else can I turn gold?
Which reminds me of one of my all-time favorite movies, which I used to watch on repeat with my old pal Ayana. This is basically me.